Localizing a WPF application with resource files
This post shows how to localize a WPF application that consists of a main app and several DLL projects that provides the app with general user controls, model classes etc.
Many tutorials suggests using the App.xaml file to localize WPF applications. This doesn’t work for me, since I must be able to localize both the app and the DLLs.
Luckily, it’s easy to enable resource file-based localization for an WPF app. Just follow the steps below. The names I use are just suggestions. You can use any names you want.
Step 1. Create a WPF application
First, let’s create a new WPF application. I call mine… … …HelloWorld!
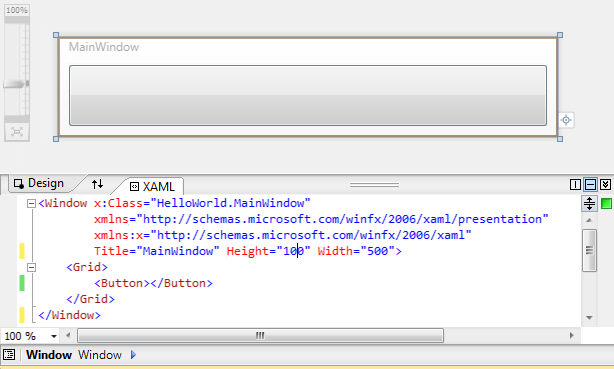
I have added a button that we are now going to localize.
Step 2. Create the resource file
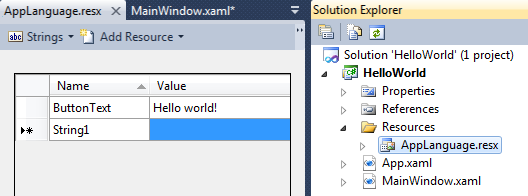
Let’s add a resource file to which we’ll add textual content. To separate resource files from the application, I place it in a Resources folder and call it AppLanguage.resx.
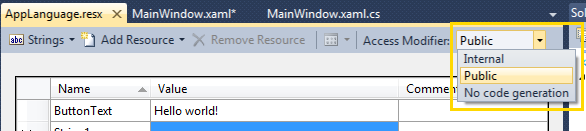
In order to access the resource file from XAML, we have to make the file public:
Once this is done, let’s proceed by accessing the resource file from XAML.
Step 3. Access the resource file content from XAML
To access the resource file in XAML code, connect the context class to the XAML code by adding the following line into the Window tag:
xmlns:Resources="clr-namespace:HelloWorld.Resources"
After that, you can access the resource parameter as such:
<Button Content="{x:Static Resources:AppLanguage.Menu_LoadData_All}"></Button>
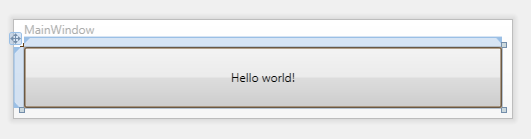
Voilá! The text is now displayed within the button:
Since we use a resource file instead of App.xaml, we can use the same file to translate the code-behind as well.
Step 4. Access the resource content file from code
To access resource file content from C€ code, simply call the AppLanguage class as
such:
// Add this topmost among the using directives
using HelloWorld.Resources;
// Add this code inside the MainWindow() constructor
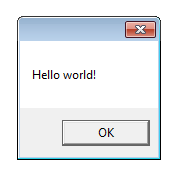
MessageBox.Show(AppLanguage.ButtonText);
When we now start our application, the message box is displayed just like we want:
Discussions & More
Please share any ideas, feedback or comments you may have in the Disqus section below, or by replying on Twitter or Mastodon.
If you found this text interesting, make sure to follow me on Twitter and Mastodon for more content like this, and to be notified when new content is published.
If you like & want to support my work, please consider sponsoring me on GitHub Sponsors.