Customizing the macOS menu bar in SwiftUI
Nov 22, 2023 ·
In this post, we’ll take a look at how to customize the menu bar of a macOS app, using SwiftUI tools like CommandMenu and CommandGroup.
For more information about customizing the macOS menu bar, I have also written a post about how to customize the macOS about panel in SwiftUI.
Background
Although SwiftUI makes it easier to build multi-platform apps, you will face many platform-specific challenges for each unique platform. For macOS, one such thing is how to customize the menu bar.
SwiftUI makes a good job of keeping this simple, with the use of commands. Let’s take a look at how we can use commands to add, remove and replace items in the main menu.
How to customize the macOS menu bar
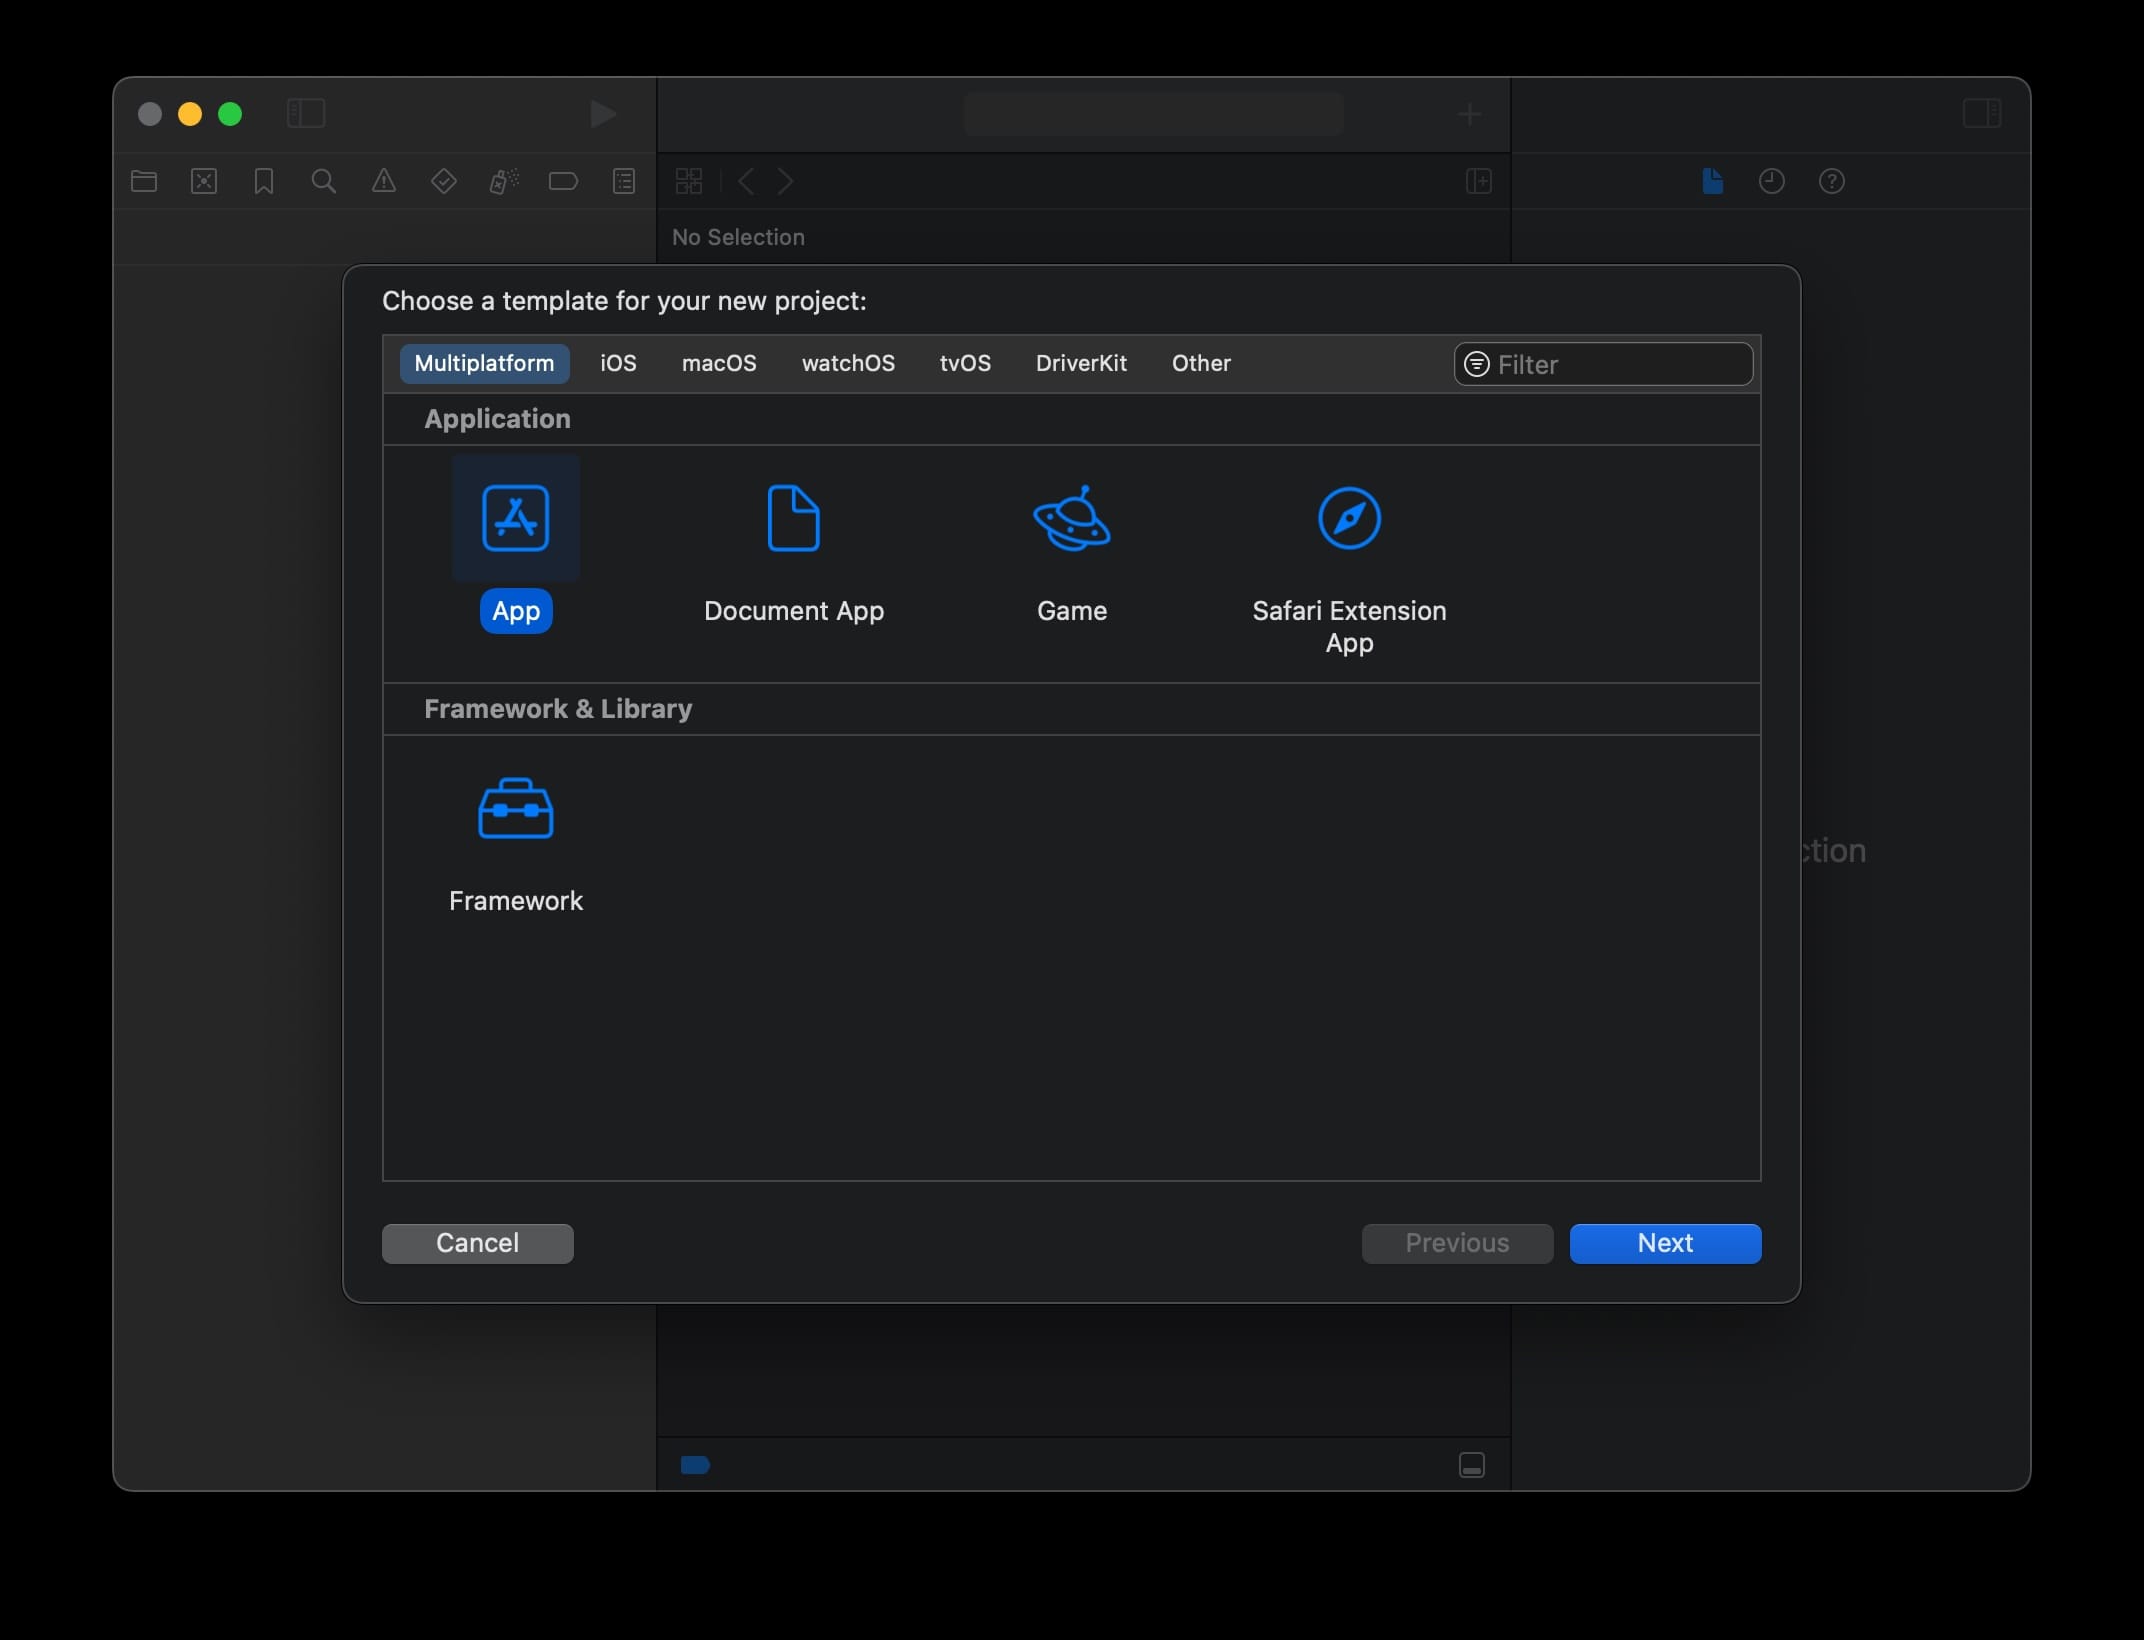
Let’s start with creating a new app in Xcode. If you pick a Multiplatform App or Document App, it will automatically use SwiftUI and target many platforms:
If we run this app on macOS without customizations, the standard menu will look like this:

We can easily add more top-level menu items or modify items in the standard menus, by applying a SwiftUI .commands modifier to the WindowGroup:
@main
struct MyApp: App {
    var body: some Scene {
        WindowGroup {
            ContentView()
        }
        .commands {
            // ... custom content here
        }
    }
}
This works on both iOS and macOS, so you don’t have to use #if os(macOS) to only use it on macOS.
How to add menu items to the menu bar
To add new menu items to the main menu, just add CommandMenu items to the .commands modifier:
@main
struct MyApp: App {
    var body: some Scene {
        WindowGroup {
            ContentView()
        }
        .commands {
            CommandMenu("Custom") {
                Button("Item 1") {}
                Divider()
                Button("Item 2") {}
            }
            CommandMenu("Another one") {
                Button("Item 3") {}
                Divider()
                Button("Item 4") {}
            }
        }
    }
}
These custom menu items will be added in order, after the standard Views menu item:

The content are regular SwiftUI views, which means that you can add anything you want to a menu:
@main
struct MyApp: App {
    var body: some Scene {
        WindowGroup {
            ContentView()
        }
        .commands {
            CommandMenu("Custom") {
                Color.red
                TextField("Test", text: .constant(""))
                Image(systemName: "face.smiling")
                    .font(.largeTitle)
            }
        }
    }
}
However, although the code above compiles, the macOS app will only render supported view types:

You can add keyboard shortcuts to any menu item to make it easy to trigger it from within the app:
@main
@main
struct MyApp: App {
    var body: some Scene {
        WindowGroup {
            ContentView()
        }
        .commands {
            CommandMenu("Custom") {
                Button("Item 1") {}
                    .keyboardShortcut("x", modifiers: [.command, .shift, .option])
            }
        }
    }
}
The macOS menu bar will then display these shortcuts as trailing instructions next to the button:

This is how you add new top-level menu items to the main menu. Let’s take a look at how we can use commands to customize the standard menu items as well.
How to customize standard menu items
You can add and remove items from standard menu items by adding CommandGroups to .commands.
We can for instance customize the Edit menu by adding new CommandGroup items to the commands:
@main
struct MyApp: App {
    var body: some Scene {
        WindowGroup {
            ContentView()
        }
        .commands {
            CommandMenu("Custom") {
                Button("Item 1") {}
                    .keyboardShortcut("x", modifiers: [.command, .shift, .option])
            }
            CommandGroup(after: .undoRedo) {
                Button("Redo everything") {}
                    .keyboardShortcut("z", modifiers: [.command, .shift, .option])
            }
            CommandGroup(after: .undoRedo) {
                Divider()
                Menu("Import/Export") {
                    Button("Item 1") {}
                    Button("Item 1") {}
                    Button("Item 1") {}
                }
            }
        }
    }
}
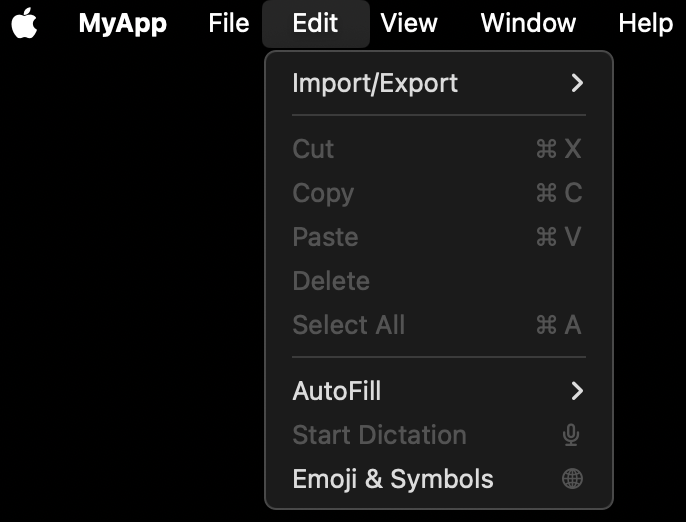
Since we used after: .undoRedo, the new menu item and sub menu is added after that menu item:

You can use before: to add new items before a certain item, and use replacing to replace an item.
@main
struct MyApp: App {
    var body: some Scene {
        WindowGroup {
            ContentView()
        }
        .commands {
            CommandGroup(replacing: .undoRedo) {
                Divider()
                Menu("Import/Export") {
                    Button("Item 1") {}
                    Button("Item 1") {}
                    Button("Item 1") {}
                }
            }
        }
    }
}
This will completely remove the undo/redo menu item from the edit menu:
Note that the strongly typed items that SwiftUI provides only specify a couple of types, so you don’t get full creative freedom.
How to handle multiple windows
In multi-window apps, you must be able to identify which window a certain command should affect.
For instance, consider that we have an app in which we want to be able to affect some view-specific state with a menu bar command:
struct ContentView: View {

    @State var message: String?

    var body: some View {
        VStack {
            Image(systemName: "globe")
                .imageScale(.large)
                .foregroundStyle(.tint)
            Text("Hello, world!")
            if let message {
                Divider()
                Text(message)
            }
        }
        .padding()
    }
}
The problem here is that a menu command can’t access this message state. We must therefore find another way to communicate between the menu and the window.
Having a global singleton would not work, since multiple windows would then use the same state:

To fix this, we can use focus values to change state instance when focus moves between windows.
How to implement custom focus values
To support focus, we must create a FocusedValueKey and bind it to the menu and the view.
Let’s start with creating a new, observable MessageState class to handle view-specific message state:
public class MessageState: ObservableObject {

    @Published var message: String?
}
Let’s then create a FocusedValueKey implementation for the MessageState type, and extend FocusedValues with a property that lets us access this focused value:
public struct MessageStateFocusedValueKey: FocusedValueKey {

    public typealias Value = MessageState
}

public extension FocusedValues {

    typealias MessageState = MessageStateFocusedValueKey

    var messageState: MessageState.Value? {
        get { self[MessageState.self] }
        set { self[MessageState.self] = newValue }
    }
}
We can now add a MessageState class @StateObject to our view and use it instead of the @State we had before, then apply a .focusedValue modifier to the entire view:
struct ContentView: View {

    @StateObject
    private var messageState = MessageState()

    var body: some View {
        VStack {
            Image(systemName: "globe")
                .imageScale(.large)
                .foregroundStyle(.tint)
            Text("Hello, world!")
            if let reply = messageState.message {
                Divider()
                Text(reply)
            }
        }
        .padding()
        .focusedValue(\.messageState, messageState)
    }
}
We can now add a @FocusedValue property to MyApp and use it to set a message from the menu bar:
@main
struct MyApp: App {

    @FocusedValue(\.messageState)
    var messageState: MessageState?

    var body: some Scene {
        WindowGroup {
            ContentView()
        }
        .commands {
            CommandMenu("World") {
                Button("Reply") {
                    messageState?.message = "Hey!"
                }
                .disabled(world == nil)
                .keyboardShortcut("r", modifiers: [.command, .shift])
            }
        }
    }
}
The focused value will be nil when no view with a matching .focusedValue has focus. This makes it possible to disable the button when it wouldn’t do anything.
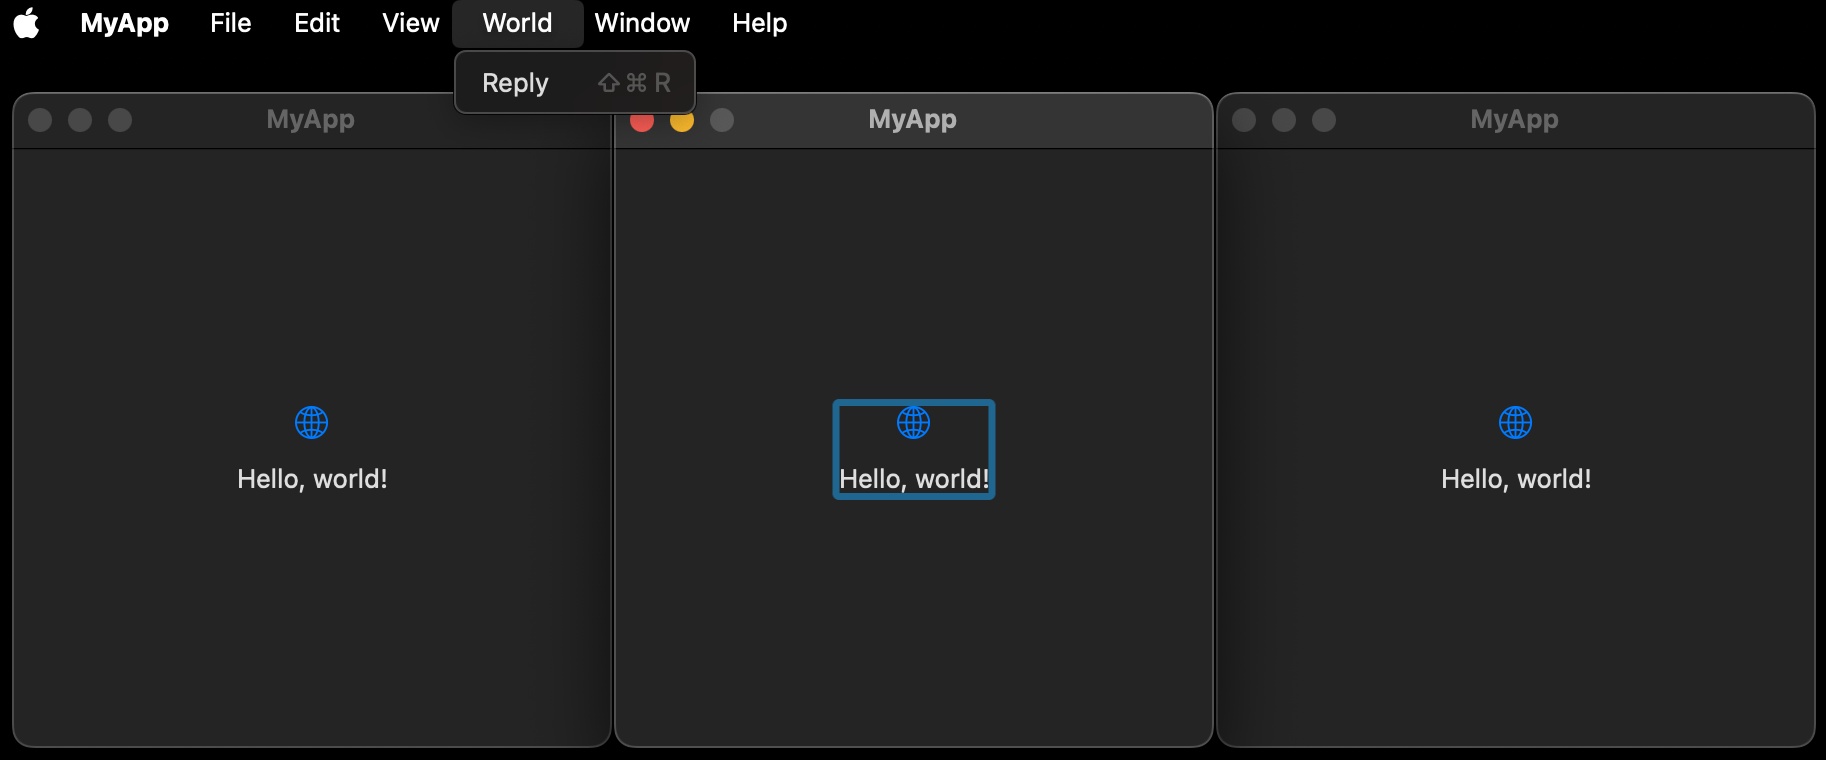
However, in macOS, a window only becomes focused when a view within it is focused. Since we just have texts and dividers in our content view, these windows will therefore not be focused by default:
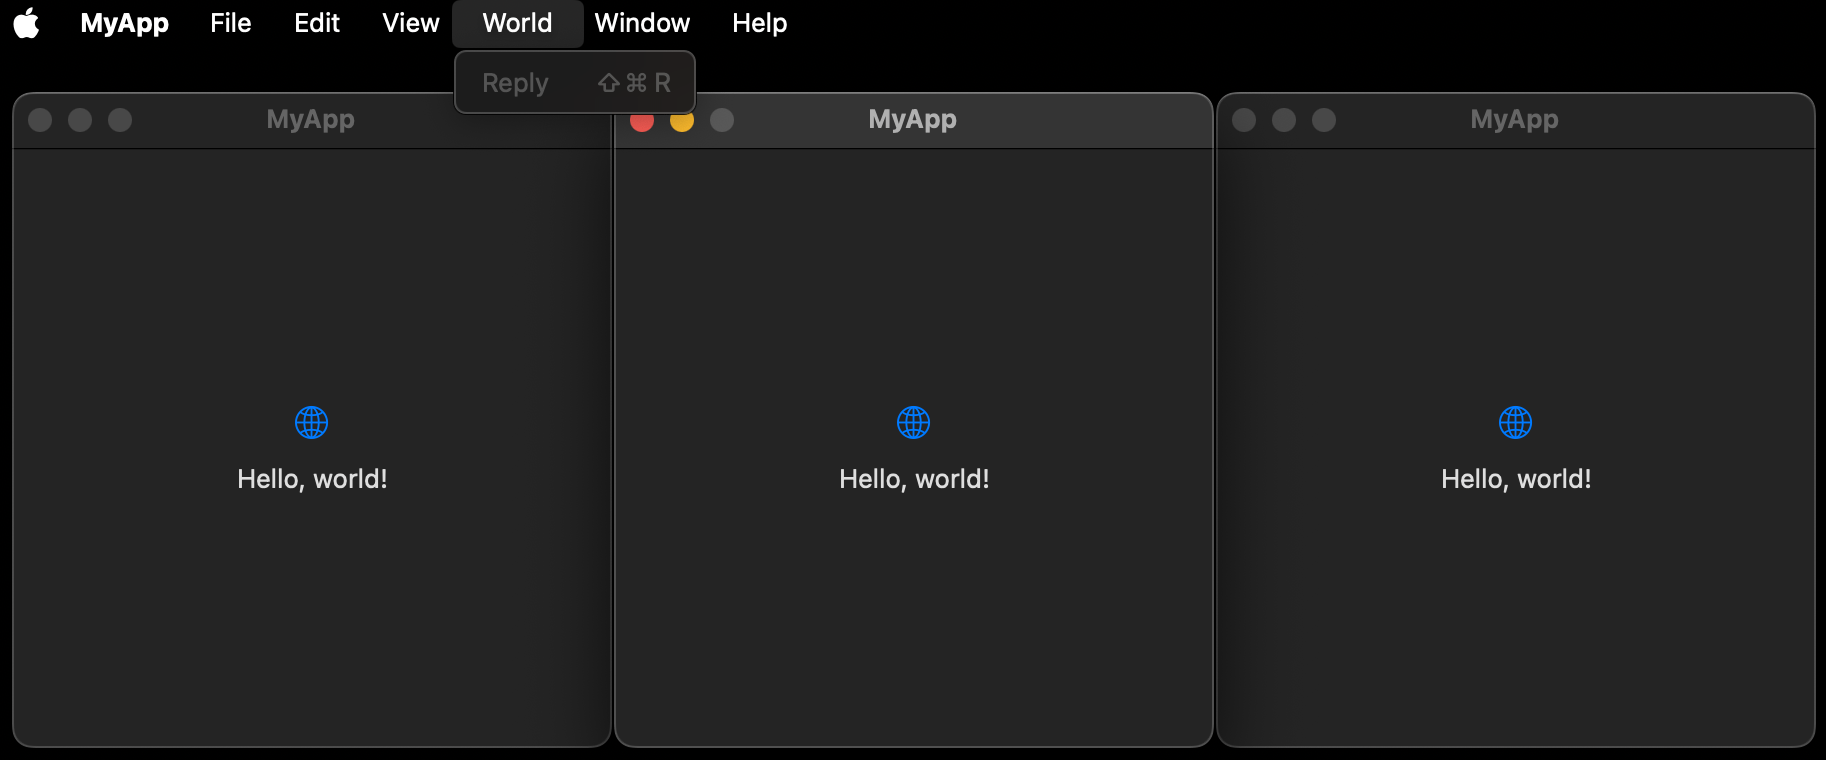
As you can see in this screenshot, the “Reply” menu item is disabled since the active window is not focused, and therefore doesn’t set the focused value properly.
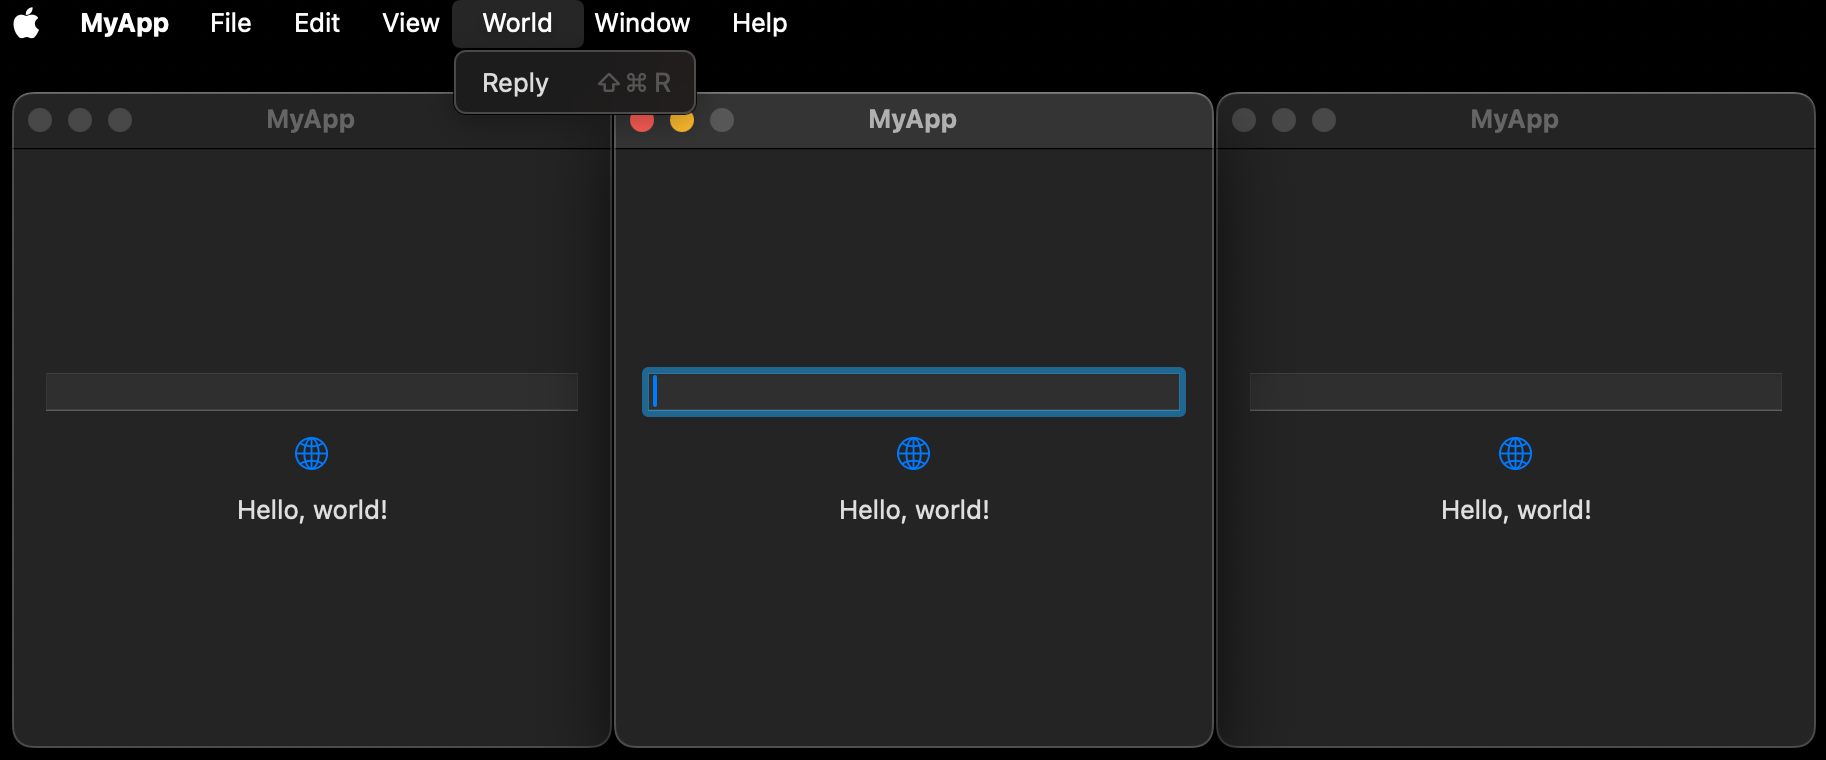
If we were to add a text field to the window, the menu item would become enabled while we edit it:
We can however enable focus for any view, by applying a .focusable() modifier to the entire view:
Since the blue focus effect is not needed in this case, we can use .focusEffectDisabled() to hide it:

We can now tap the menu item or use its keyboard shortcut to set a message for the focused view:
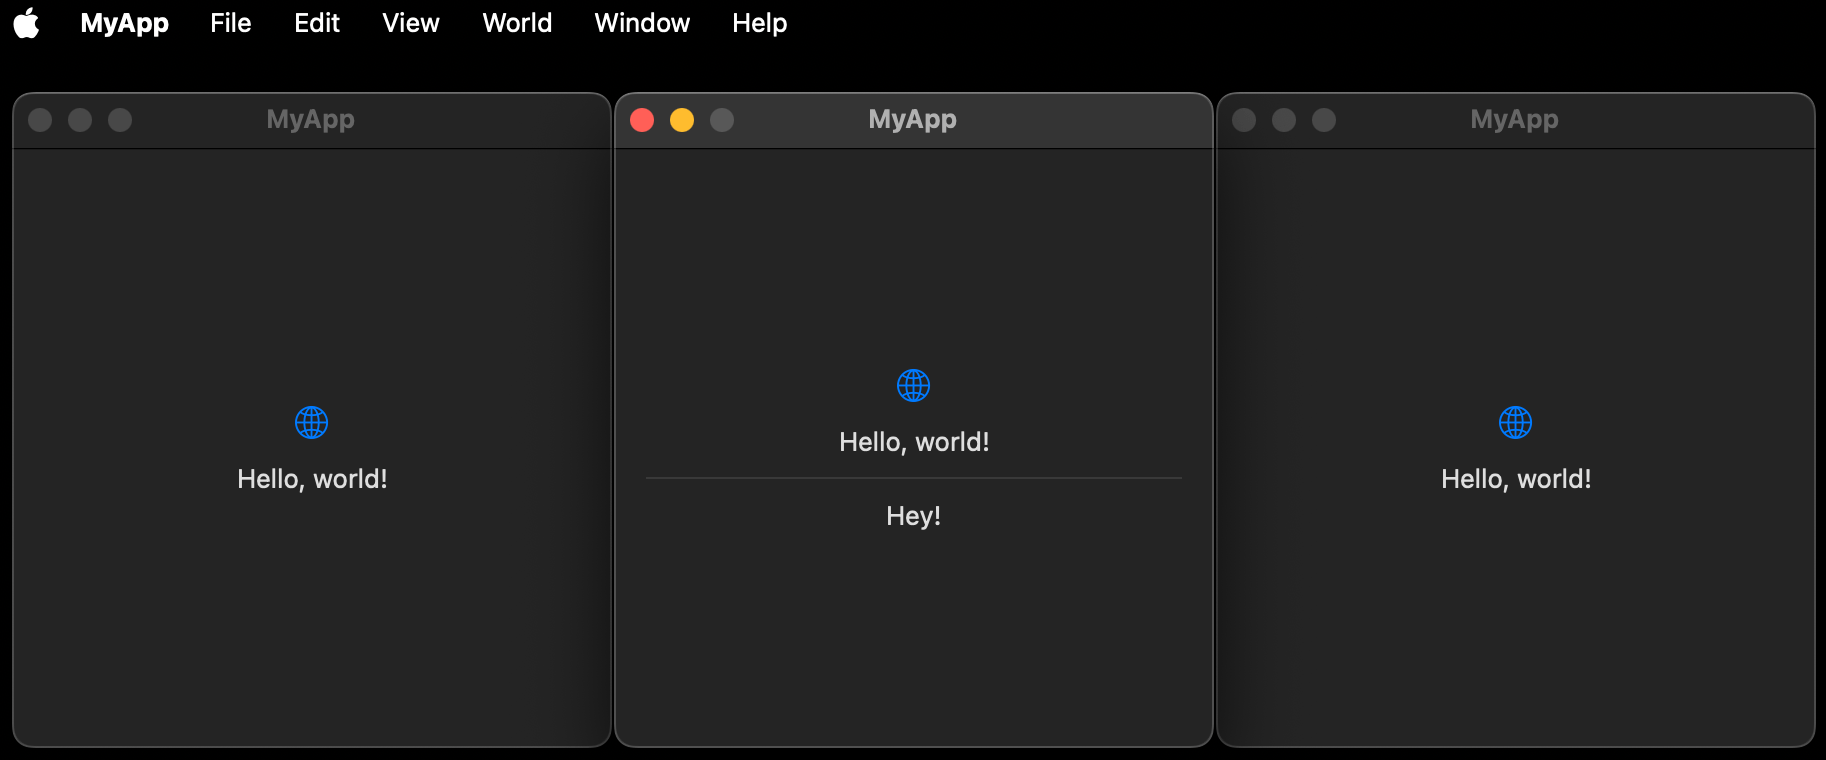
If we close all windows, the focus value becomes nil and the menu button disabled. And with that, we can now consider ourselves to be menu bar experts.
Discussions & More
If you found this interesting, please share your thoughts on Bluesky and Mastodon. Make sure to follow to be notified when new content is published.