Adding scroll offset tracking to a SwiftUI ScrollView
Feb 6, 2023 ·
The SwiftUI ScrollView is currently quite limited in functionality, and will for instance not let us detect the current scroll offset. Let’s take s look at how to add offset tracking to it.
How to track scroll offset
To add scroll offset tracking to a scroll view, we must first define a coordinate space that we’ll use to read the frame of the scroll view content:
enum ScrollOffsetNamespace {

    static let namespace = "scrollView"
}
We must then define a preference key that we can use to track the scroll offset, by adding a preference modifier to the scroll view content:
struct ScrollOffsetPreferenceKey: PreferenceKey {

    static var defaultValue: CGPoint = .zero

    static func reduce(value: inout CGPoint, nextValue: () -> CGPoint) {}
}
We can now use these types to create a view that can detect the offset when it’s added to a scroll view:
struct ScrollViewOffsetTracker: View {

    var body: some View {
        GeometryReader { geo in
            Color.clear
                .preference(
                    key: ScrollOffsetPreferenceKey.self,
                    value: geo
                        .frame(in: .named(ScrollOffsetNamespace.namespace))
                        .origin
                )
        }
        .frame(height: 0)
    }
}
This view just applies a preference with the preference key and namespace to a Color, then wraps the color in a GeometryReader that is used to get the frame of the view.
To make sure that this view doesn’t conflict with the ScrollView content, we also apply a zero height frame to the geometry reader.
For this to work, we must add a coordinateSpace to the scroll view and track preference changes to the ScrollOffsetPreferenceKey. We can define this as a ScrollView extension:
private extension ScrollView {

    func withOffsetTracking(
        action: @escaping (_ offset: CGPoint) -> Void
    ) -> some View {
        self.coordinateSpace(name: ScrollOffsetNamespace.namespace)
            .onPreferenceChange(ScrollOffsetPreferenceKey.self, perform: action)
    }
}
We can now put things together by using the offset tracking view and the scroll extension:
ScrollView(.vertical) {
    ZStack(alignment: .top) {
        ScrollViewOffsetTracker()
        // Insert scroll view content here
    }
}
.withOffsetTracking(action: { print("Offset: \($0)") })
The offset is now continuously sent to the action as the scroll view is scrolled. You can use this to fade out content in the header, present additional views, etc.
Creating a new scroll view component
Since you must always use a ZStack with .top alignment, an offset tracker view and a view modifier, I found it easier and less error-prone to create a separate scroll view:
public struct ScrollViewWithOffset<Content: View>: View {

    public init(
        _ axes: Axis.Set = .vertical,
        showsIndicators: Bool = true,
        onScroll: ScrollAction? = nil,
        @ViewBuilder content: @escaping () -> Content
    ) {
        self.axes = axes
        self.showsIndicators = showsIndicators
        self.onScroll = onScroll ?? { _ in }
        self.content = content
    }

    private let axes: Axis.Set
    private let showsIndicators: Bool
    private let onScroll: ScrollAction
    private let content: () -> Content

    public typealias ScrollAction = (_ offset: CGPoint) -> Void

    public var body: some View {
        ScrollView(axes, showsIndicators: showsIndicators) {
            ZStack(alignment: .top) {
                ScrollViewOffsetTracker()
                content()
            }
        }.withOffsetTracking(action: onScroll)
    }
}
You can then just use ScrollViewWithOffset instead of having to specify all required components every time you want to use offset tracking:
struct MyView: View {

    @State
    private var scrollOffset: CGPoint = .zero

    var body: some View {
        NavigationView {
            ScrollViewWithOffset(onScroll: handleScroll) {
                LazyVStack {
                    ForEach(1...100, id: \.self) {
                        Divider()
                        Text("\($0)").frame(maxWidth: .infinity)
                    }
                }
            }.navigationTitle(offsetTitle)
        }
    }

    func handleScroll(_ offset: CGPoint) {
        self.scrollOffset = offset
    }
}
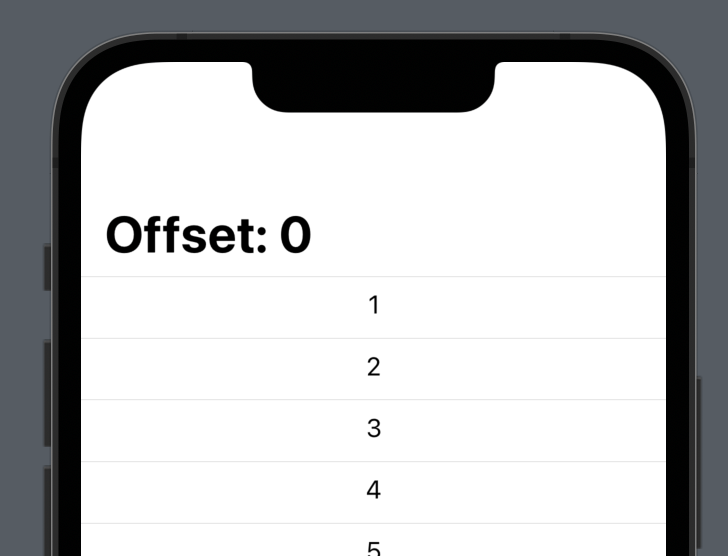
Scrolling the scroll view will continuously update the scrollOffset state property, which we present in the navigation title. This will initially look like this:
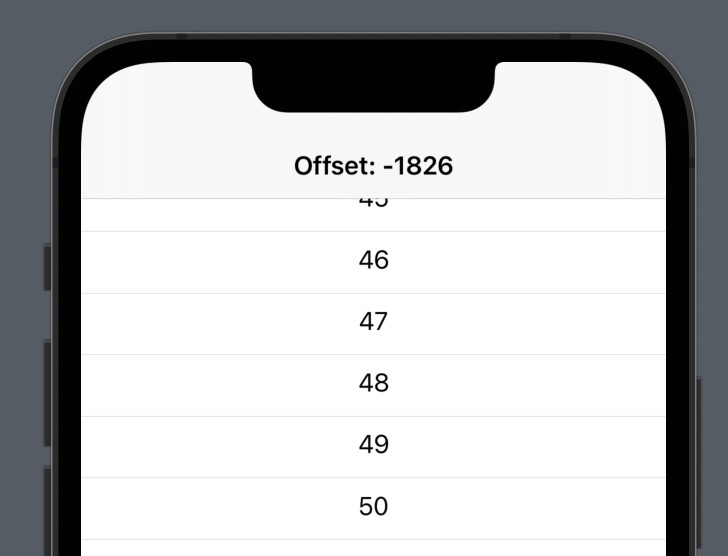
As you then scroll the content in the scroll view, the scrollOffset state property will be updated and the new value rendered in the navigation bar title:
That’s basically it. You now have a ScrollView replacement that let’s you define an action that provides you with the scroll offset, which you can use in many exciting ways.
Binding vs action
If you have seen similar code and wonder why I use an action instead of a binding, I find using a binding confusing when it’s not possible to change the value to scroll to an offset.
Since the binding is thus in fact read-only and writing to it would lead to bugs, I decided use an action instead, and provide it with the scroll offset.
Since iOS 18 will now add the possibiliy to scroll to a certain offset, I may change this code to use a binding.
Conclusion
ScrollViewWithOffset replaces ScrollView and lets you track scroll offset by providing it with an additional onScroll action.
I have added ScrollViewWithOffset to my newly released ScrollKit library. You can find the source code here. If you give it a try, I’d love to hear what you think.
Big thanks to Daniel Arden for providing me with this nice offset tracking and for joining my efforts to build a fun scroll view feature that we’ll uncover in the next post. Stay tuned!
Discussions & More
If you found this interesting, please share your thoughts on Bluesky and Mastodon. Make sure to follow to be notified when new content is published.