Schedule GitHub Pages rebuild with GitHub Actions
May 11, 2022 ·
In this post, let’s take a look at how to schedule a website with GitHub Actions, so that we can create future content that is automatically published at the intended publish date.

Background
As I’ve started writing here more consistently, I want to be able to publish new content at a certain time. The best time to publish is still beyond me, but I hope to learn more over time.
I host this site on GitHub and use GitHub Pages to build a static website every time I push new content. This omits any future content, which means that I can work on future content without having to worry that it shows up on the live site.
I use Jekyll as static site generator. It lets me define content as YML data and Markdown, both in content files and as separate files. This has boosted my productivity since I rarely have to work with HTML, JavaScript & CSS when producing content.
Jekyll lets you define metadata like title, date, tags etc. in a page’s Front Matter, which is a data section that you specify topmost in each page’s Markdown file.
For this page, the front matter looks like this:
---
title:  Schedule your website with GitHub Actions
date:   2022-05-11 12:00:00 +0000
tags:   git

assets: /assets/blog/22/0511/
image:  /assets/blog/22/0511/image.jpg

github: https://github.com
github-pages: https://pages.github.com
jekyll: https://jekyllrb.com
front-matter: https://jekyllrb.com/docs/front-matter/
---
The date field format is UTC. I use it to specify the page’s intended publish date. Since Jekyll ignores future content, future pages will not show up until this date has passed.
The problem
Scheduled blogging works great, but one problem is that GitHub only rebuilds my website when I push. This means that I have to do a new git push to publish new content.
So even if Jekyll lets me create future posts in advance, I still have to do a manual push for new content to show up on the website.
I’d rather schedule my site to rebuild every now and then, e.g. once per day. Turns out that GitHub Actions is the perfect tool for the job.
Setting up GitHub Actions
By setting up a scheduled GitHub Actions workflow with Curl and a cron job, we can trigger GitHub Pages to rebuild any time we like.
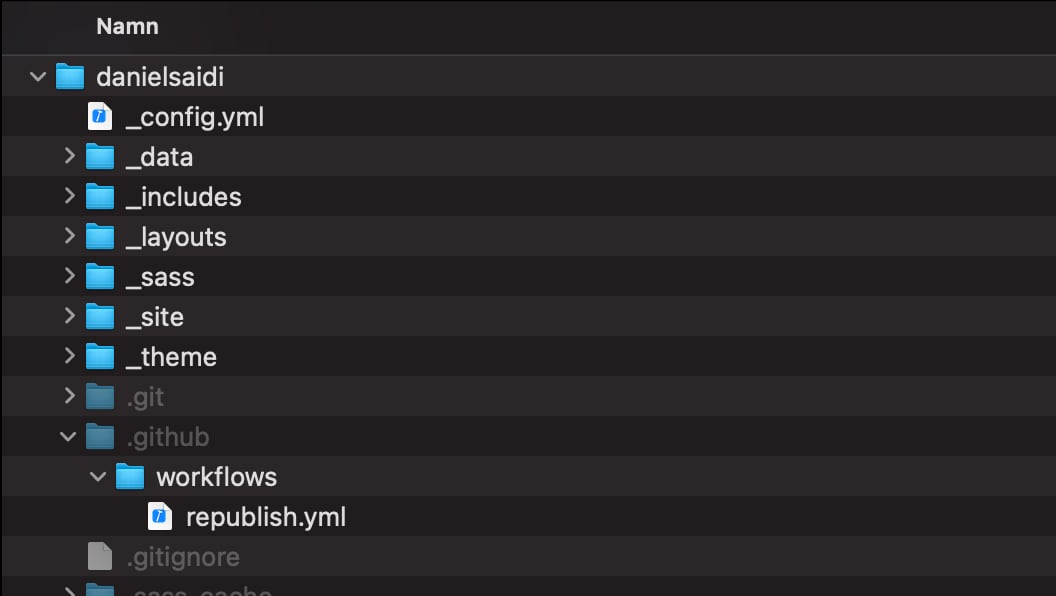
To make this work, first create a .github folder in the root, then add a workflows folder to that folder and a .yml file that you name after your workflow.
In my case, I added a republish.yml file like this:
The file contains all the information GitHub Actions need to perform the job:
name: Republish

on:
  schedule:
    - cron: '1 18 * * *'  # Run at 6:01 pm every day.
jobs:
  refresh:
    runs-on: ubuntu-latest
    steps:
      - name: Trigger GitHub pages rebuild
        run: |
          curl --fail --request POST \
            --url  https://api.github.com/repos/danielsaidi/website_danielsaidi/pages/builds \
            --header "Authorization: Bearer $USER_TOKEN"
        env:
          # You must create a personal token with repo access as GitHub does
          # not yet support server-to-server page builds.
          USER_TOKEN: $
The file defines the workflow name, which shows up in the GitHub Actions portal, then tells it to trigger every day at 6:01 pm.
Note that the cron expression must be wrapped in single quotations!
The file then defines the jobs to run, which in this case only performs a refresh job with a single step that has a name, a run command, and an env field for environment variables.
The run command uses curl to perform a POST request to the pages/builds endpoint. For authentication, it provides an GitHub personal access token via a USER_TOKEN variable.
The final piece of the puzzle is to create a private access token (PAT) and a GitHub secret to provide the token to the script.
To create a PAT, go to your personal GitHub settings and locate the “Developer settings”:
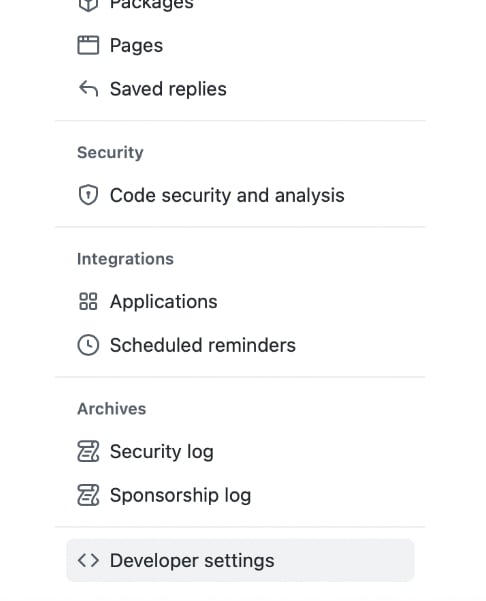
Create a new token and make sure to copy it. Once you close the creation form, you can’t get it back!
The final step is to define the USER_TOKEN variable that we refer to in the workflow. You can define it as a GitHub Secret under your repository settings:
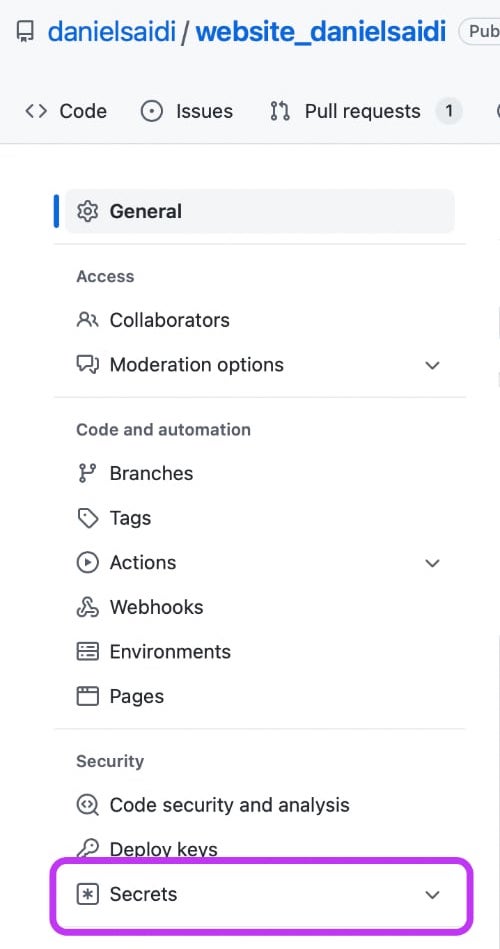
Expand this section, pick Actions and create a new secret. Name it USER_TOKEN and paste in the access token that you just created.
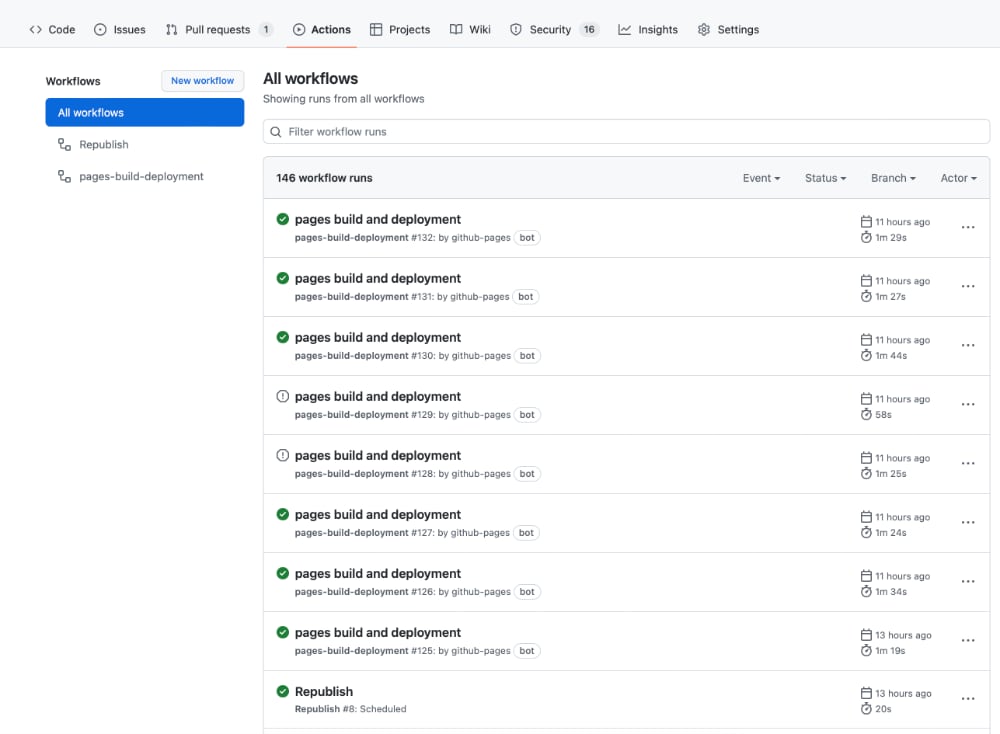
That’s it! You can now push the republish.yml file to make it trigger the republish workflow at the times you’ve specified in the file.
Once the workflow triggers, it will show up in your repository’s GitHub Actions action portal:
The cron expression is very flexible, so you can setup your website to publish at any time. No more sitting around, waiting to publish, while others are having a fun Friday evening.
Conclusion
I hadn’t used GitHub Actions before, and much of the information I found to make this work was in many cases wrong or not adjusted for GitHub Actions.
If you too have struggled with it, I hope that this post will help you get started with GitHub Actions. It’s a great tool once you get the hang of it.
Discussions & More
If you found this interesting, please share your thoughts on Bluesky and Mastodon. Make sure to follow to be notified when new content is published.